

Switching gears today, and instead of baking something
sweet, we are baking bread!
Before you excuse yourself from taking part in bread making because
you think the process is too time-consuming and too difficult, and you’d rather
buy your bread, or even use a bread maker…STOP. Everyone should try baking
bread. If not for the excellent product, then for the ability to gloat and say
that “Yes, I have made my own bread before. From scratch.”
Now I’m not here to tell you that making bread is
easy-peasy. If it was, everyone would do it. But I am here to tell you that if
you have patience (for proofing time), and arm strength (for kneading), you
should definitely give it a go.
So let’s begin this wonderful, and fulfilling process.
This recipe is from Hobbs House Bakery. If you have never made bread before, I suggest watching their short, but very informative, bread making video:
White Bread Loaf
makes 1 loaf
Supplies
Kitchen Scales
Loaf Pan
Cling Film
1 Large Bowl
Measuring Jug
Hand Mixer
Ingredients
560g strong white flour
10g sea salt
5g dried yeast (or 10g of fresh yeast)
300ml lukewarm water
20ml olive oil
Method
- Set up your kitchen scale on the counter, place your large bowl on top, and tare the scale so that it goes to 0. Weigh out your Flour, Salt, and Oil into your bowl.
- Fill your Measuring Jug with lukewarm water until it hits the 300ml mark. Then add your 5g of yeast. Stir the yeast with a fork until it dissolves. Then empty your jug into your bowl and stir all the ingredients together (using your hand mixer or just your hands)
- Knead the dough on a flat surface until it becomes smooth and elastic (about 20 minutes). When ready, place your dough back into your bowl and cover in cling film (I always place a dry towel over the cling film for some extra warmth). Leave it to rise in a warm and draft free area for about an hour, or until it grows twice its size

- Punch down your dough and remove it from the bowl. Lightly dust your flat surface with flour and place your dough down. Shape your dough so it fits into your well-oiled loaf pan. Sprinkle a bit of flour over your loaf and then cover it with the same cling film. At this stage you should preheat your oven to 240C/465F. Place your dough on top of the stove for its second proofing (should take about an hour)
 |
| press down on the dough to release any air, an stretch until double the length of the pan |
 |
| fold your dough into 3: fold the right side of the dough to the middle, and then fold the left side over it |
 |
| form a seal on the side of the dough closest to you by using your knuckles |
 |
| then reach for the far side of the dough, and gently fold it towards you |
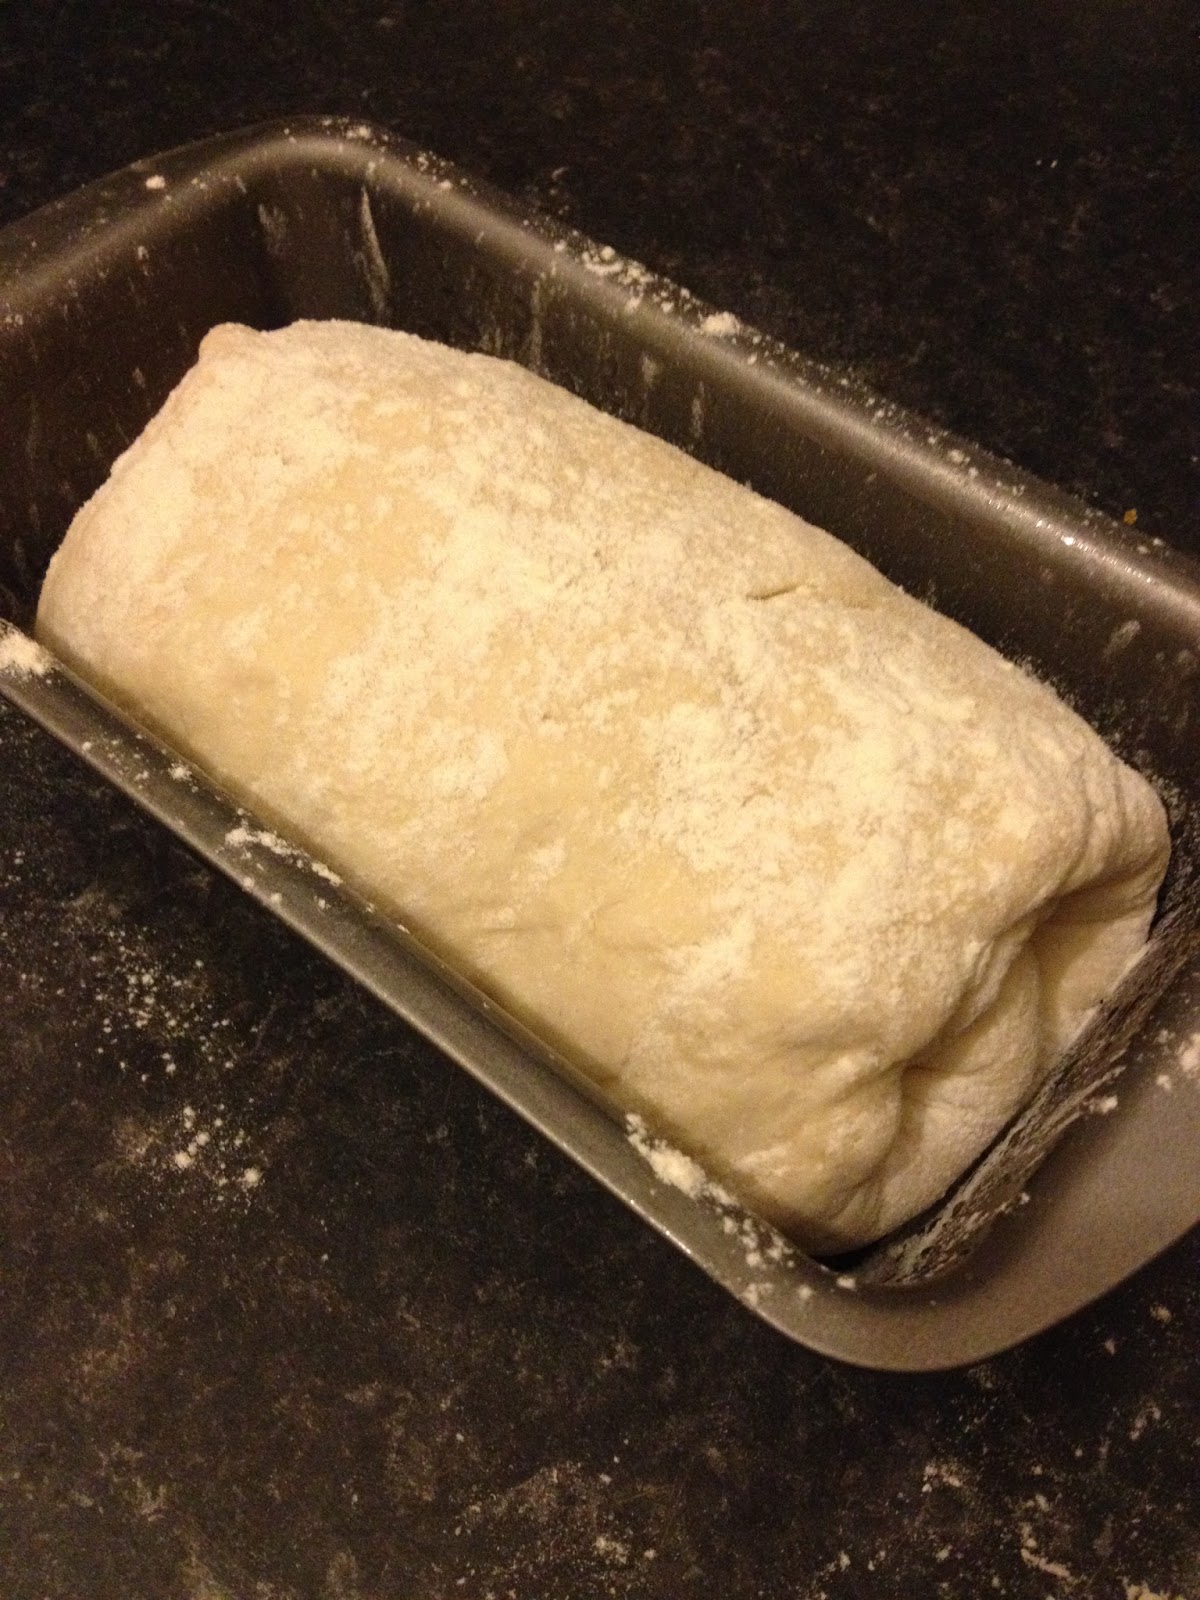 |
| place into your pan, with the seam on the bottom |
- When the dough has doubled in size, remove cling film. Take a sharp knife and slash the top of your dough. Place a saucer filled with water in the bottom of your oven (the humidity will help create a perfect crust). Place your loaf in the middle rack of your oven and let bake for about 10 minutes. After the time has elapsed, lower the temperature of the oven to 210C/410F and continue to bake for another 30-40 minutes. The bottom of the loaf should be a golden brown colour, and when tapped, should sound hollow. Let cool on a cooling rack.
 |
| slash your loaf and place it into the oven |
Almost 3 hours later, there you have it!


No comments:
Post a Comment